This guide addresses the process of handling and importing contacts into the Avantto platform, essential for ensuring the quality and relevance of the database. The procedure begins with the need to standardize fields, especially regarding the "Contact Type," which is customizable and can be imported with predefined values. Lack of standardization in phone numbers can cause errors during import, making it crucial that the file is in .CSV format, with a limit of up to 50 MB. The import is initiated by accessing the "Import Contacts" option and selecting the desired file. Then, the spreadsheet fields must be mapped to the corresponding fields in Avantto, followed by confirmation of the import. The user can also add tags to categorize contacts and choose how to handle duplicates during the process. After the import, it is important to check the status and possible errors, allowing adjustments to be made as necessary. The main goal of this procedure is to ensure that contacts are managed efficiently, facilitating communication and organization within the platform.

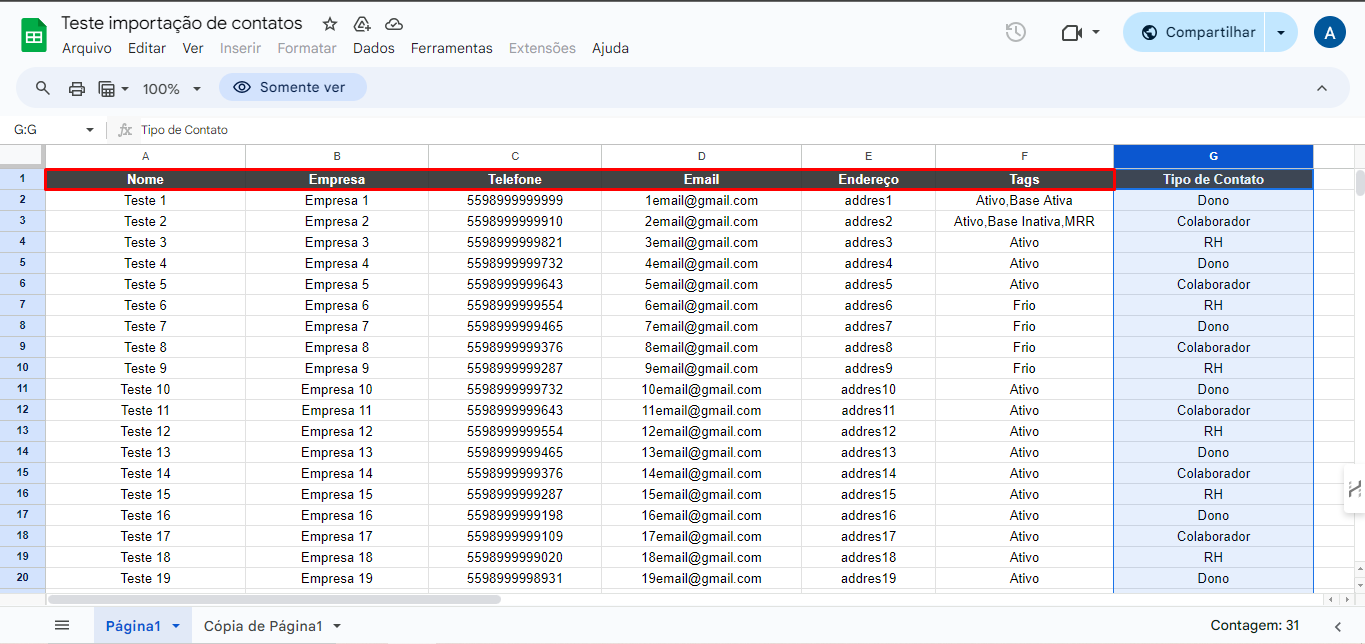
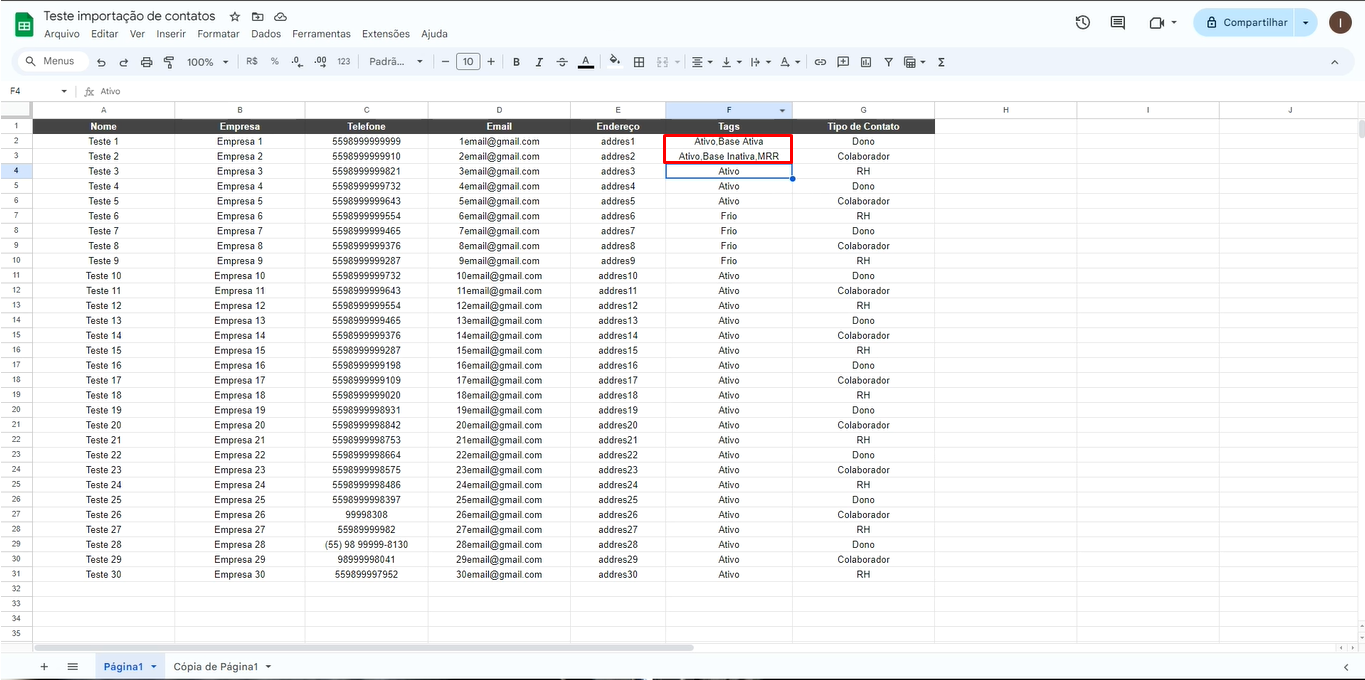
The fields marked in red are standard for the Avantto platform itself.
However, the "Contact Type" field is customizable. There is already a video available that demonstrates how to create these fields at both the contact and opportunity levels. This field serves as an example, showing that it is possible to import contacts with predefined values for this custom field.
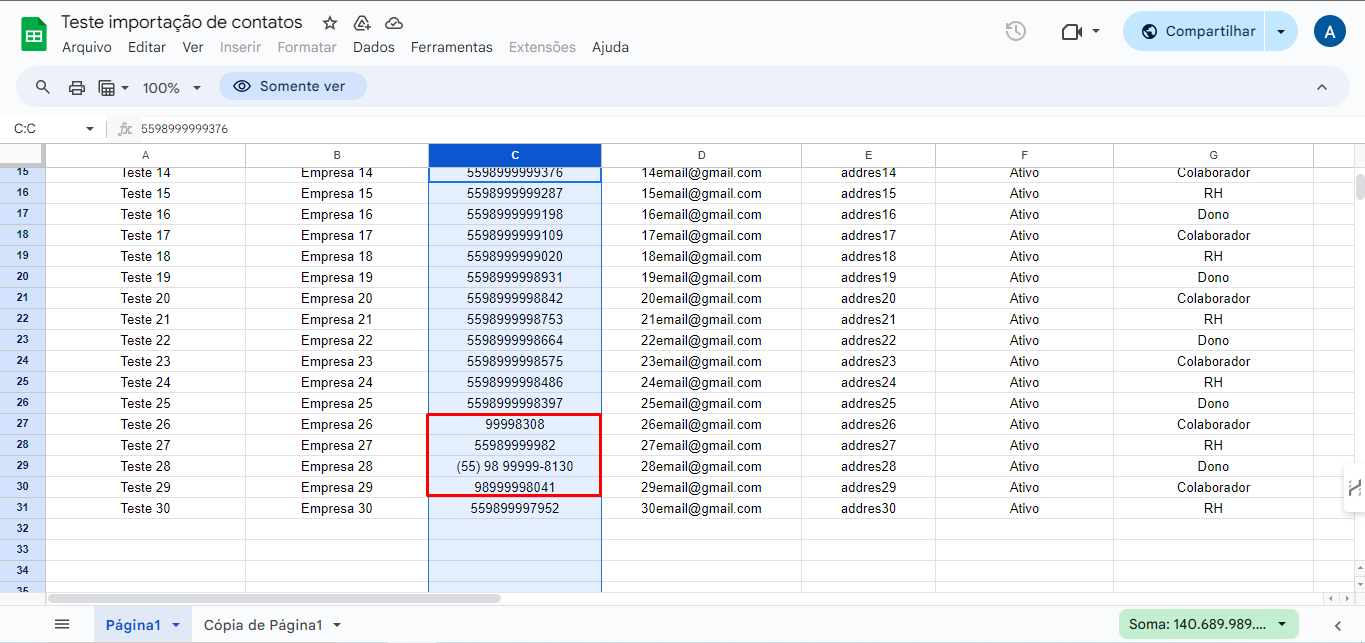
In the "Phone" field, the lack of standardization in the format of the numbers can cause problems.
For example, numbers that do not include the area code, the country code, that are incomplete, and with symbols can result in errors during import.
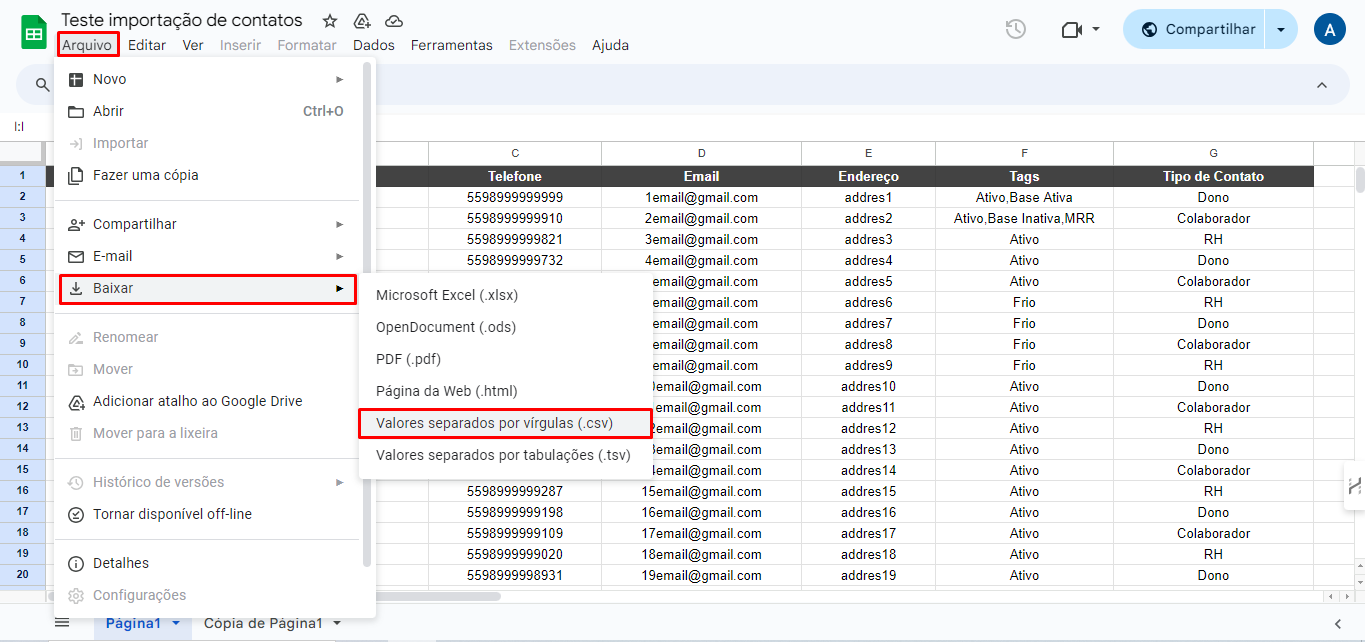
When downloading, it is important that the file is exported in .CSV format, as this is the only format accepted by the platform, with a limit of up to 50 MB. You can use Google Sheets or Excel to process this data; however, Google Sheets offers a more simplified interface for downloading and formatting.
For the creation of Tags, it is more practical and customizable to add tags manually within the spreadsheet, as in Avantto it is only possible to assign a single tag to all contacts. For example, in the image, the tags were used to identify active and cold clients. However, you can add more tags, as long as they are separated by commas and do not contain spaces, such as "active, inactive base, MMR". Thus, the contact will be imported with these tags.
1.1 To start, access the left side menu and click on Contacts in the smart list/lista inteligente option. Then click on "Import Contacts" in the upper right corner.

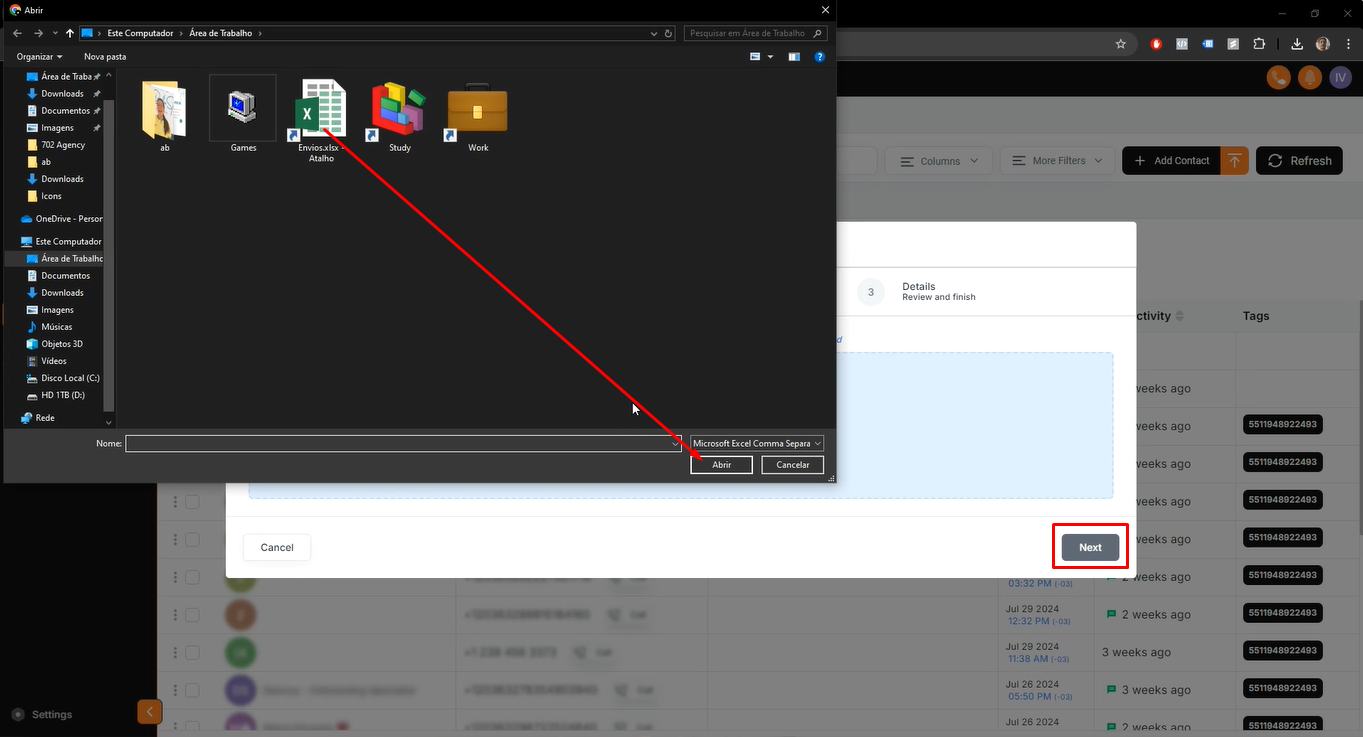
1.2 After clicking on "Import Contacts", select "Upload a File" to choose the file that contains the contact list. Remember that the file must be in CSV format. After selecting the file, click "Next" to proceed.
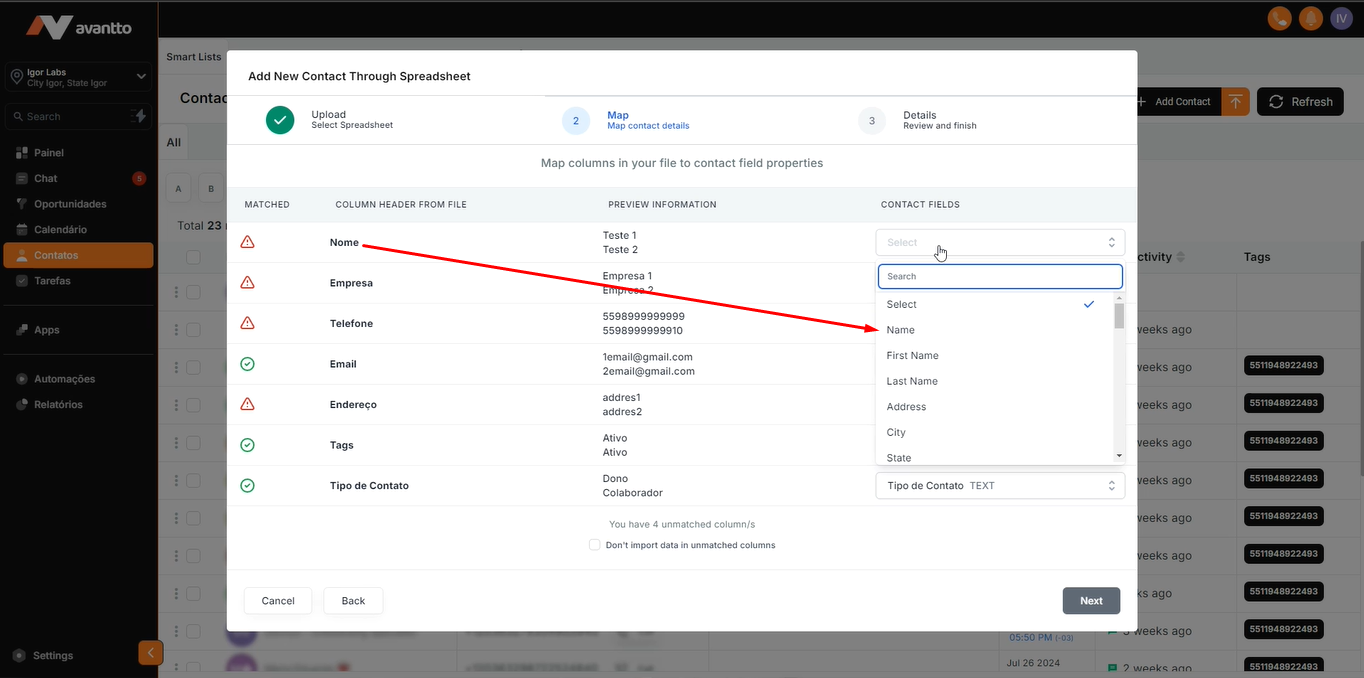
1.3 In this tab, you will connect the spreadsheet fields to the Avantto fields.
In the image, you can see that some fields have already been automatically connected by default (such as tag, email, and contact type).
For fields that are not connected, simply select the fields corresponding to the appropriate name.
Click "Next" to proceed.
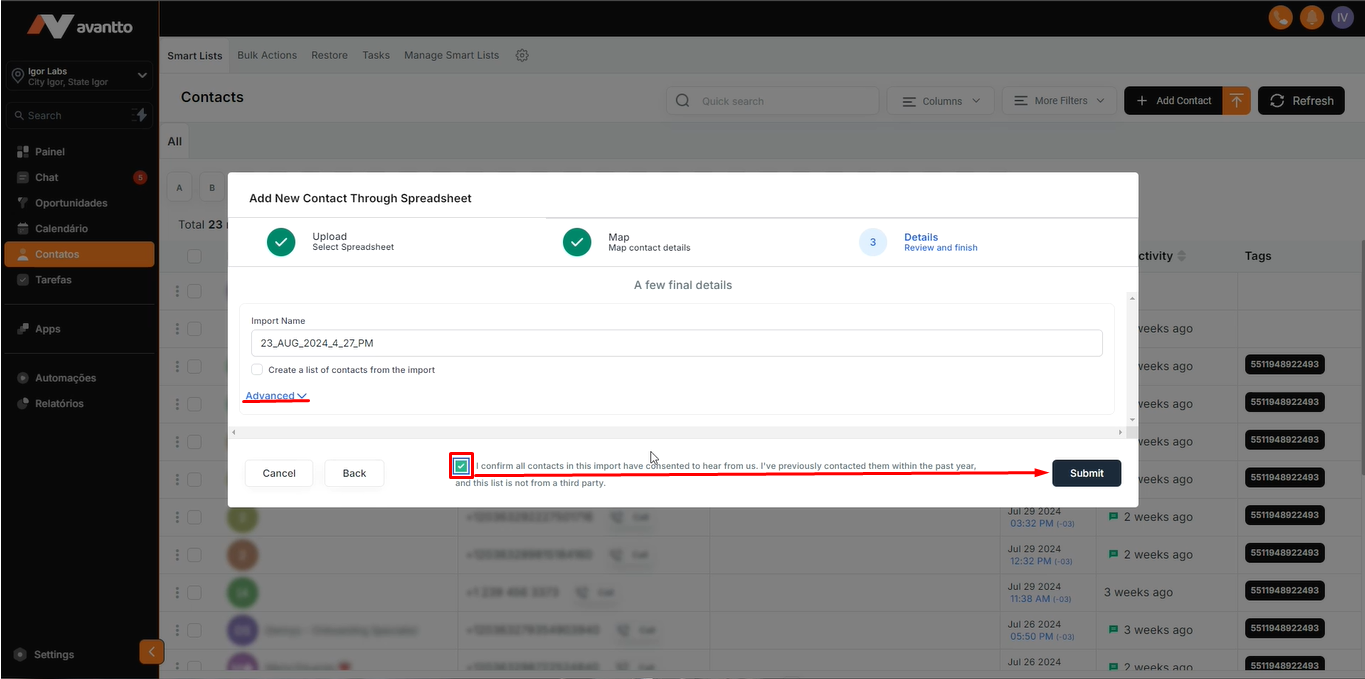
1.4 When the next screen appears, select the "I confirm" field and click "Submit" to complete the import.
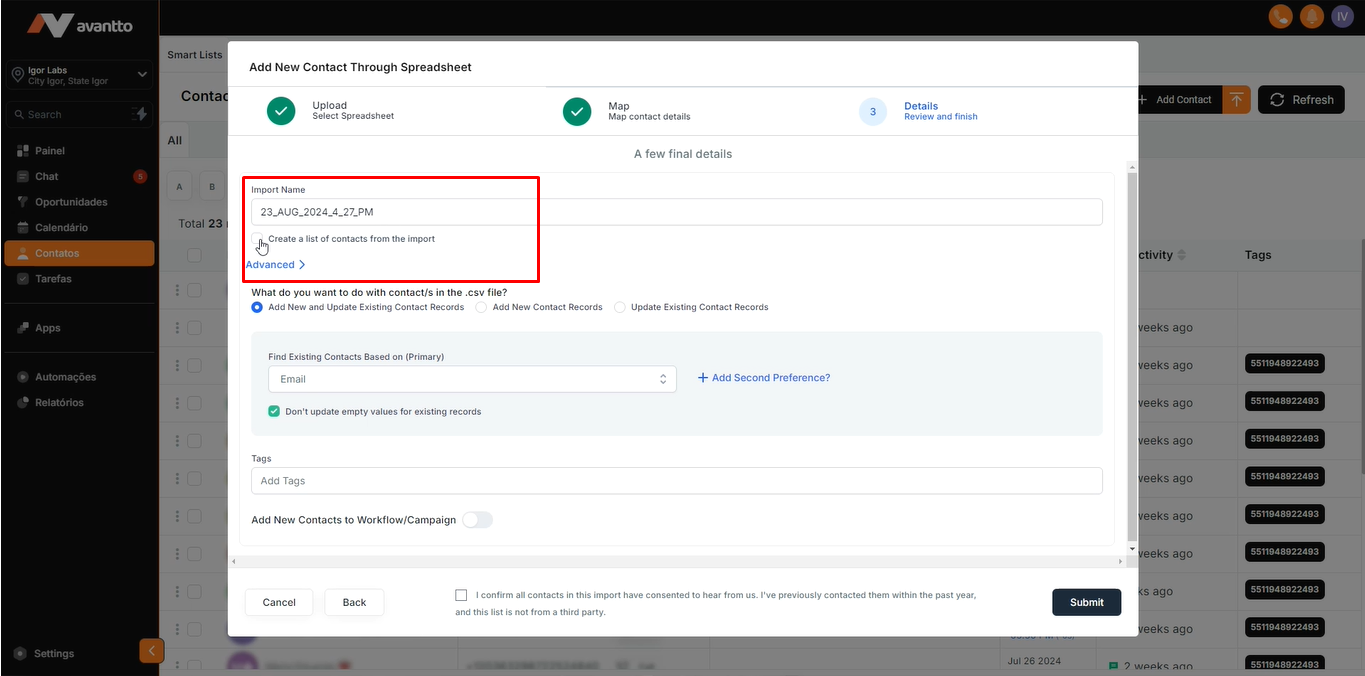
If you want to access more settings, click "Advanced".
Additional settings
It is possible to create a list and add a name to it, making it easier to access later.
Standardizing the automatic name is a great suggestion.
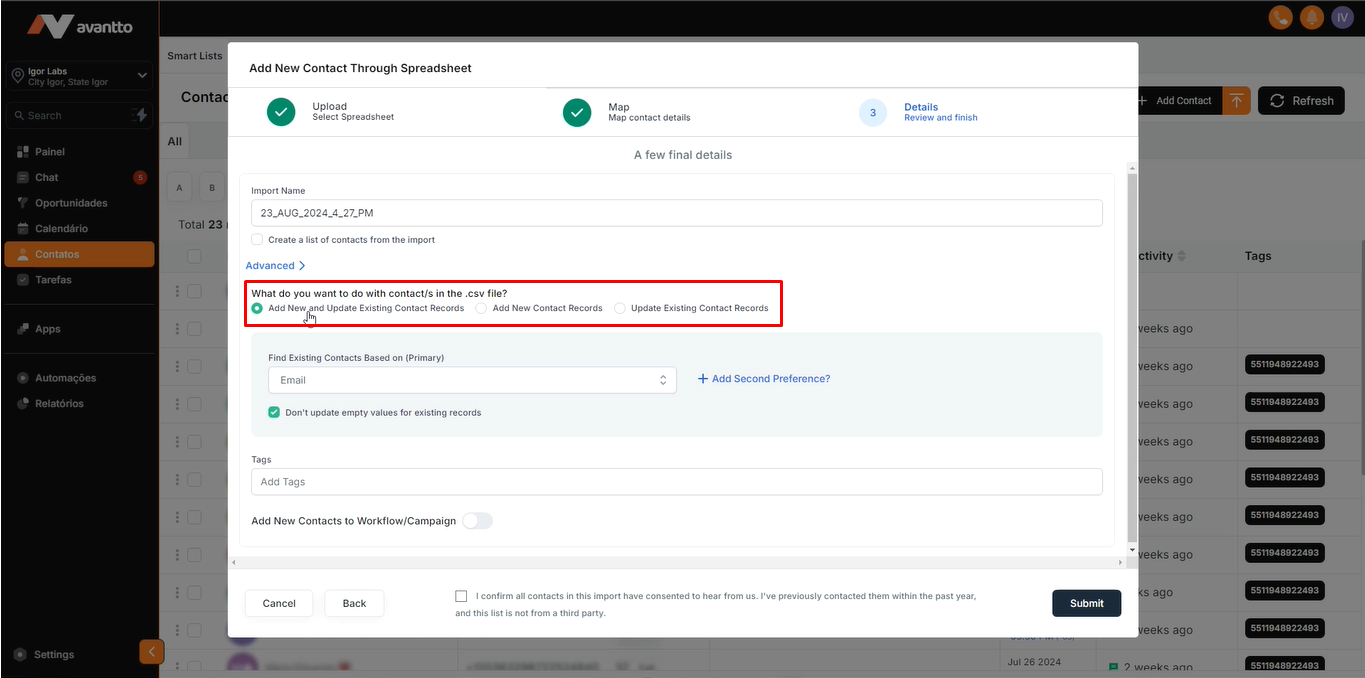
Important Observations:
In "What do you want to do with contacts in the .csv files?", if you want to add new contacts and update existing ones, select the option "Add New and Update Existing Contact Records".
If it's just to add new contacts, choose "Add New Contacts Records". However, attention: Avantto accounts will come with the pre-configuration of not allowing duplicates. Therefore, if this option is activated, by selecting to add only new contacts, it will not be possible to add or update existing contacts. The same applies to the option "Update Existing Contact Records".
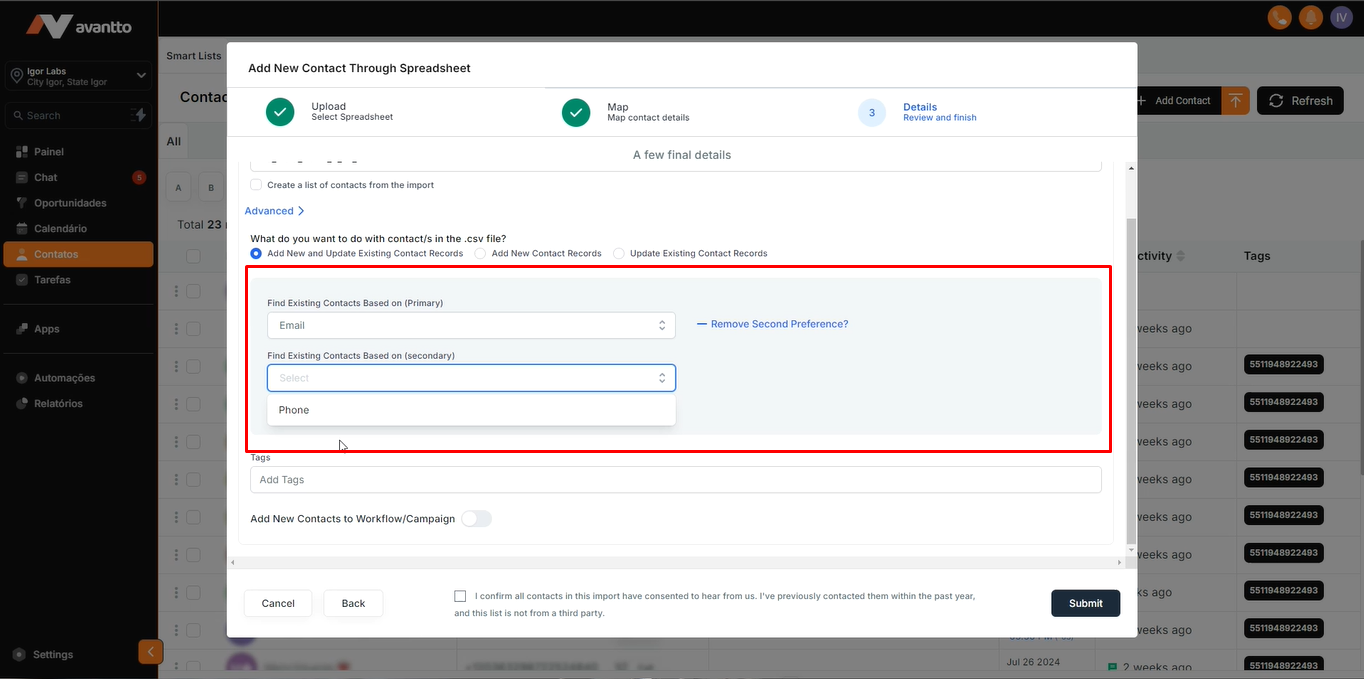
You can also define how the search will be conducted to identify if the contact already exists in "Find Existing Contacts Based On (Primary)". Here, you can choose whether the identification will be done by email, name, or phone.
In the Tags section, there are standard tags available within Avantto, where you can add a tag for all contacts. These tags help categorize and organize your contact base efficiently.
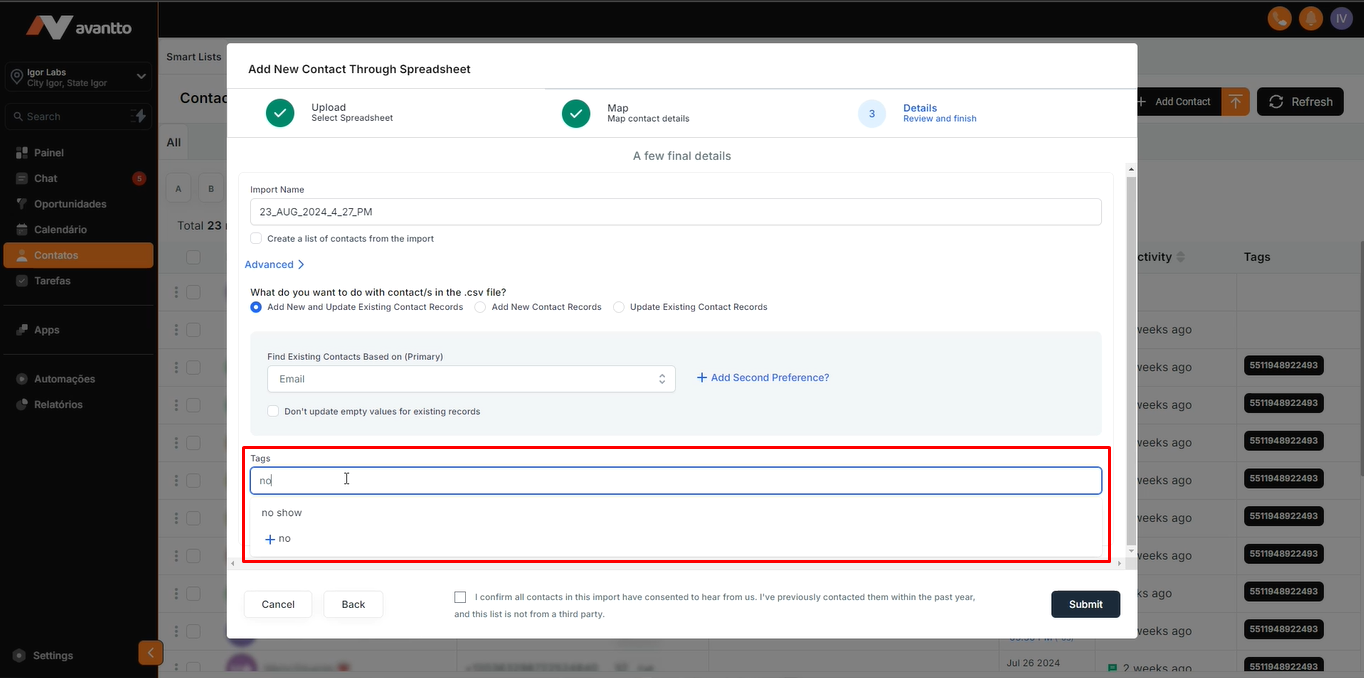
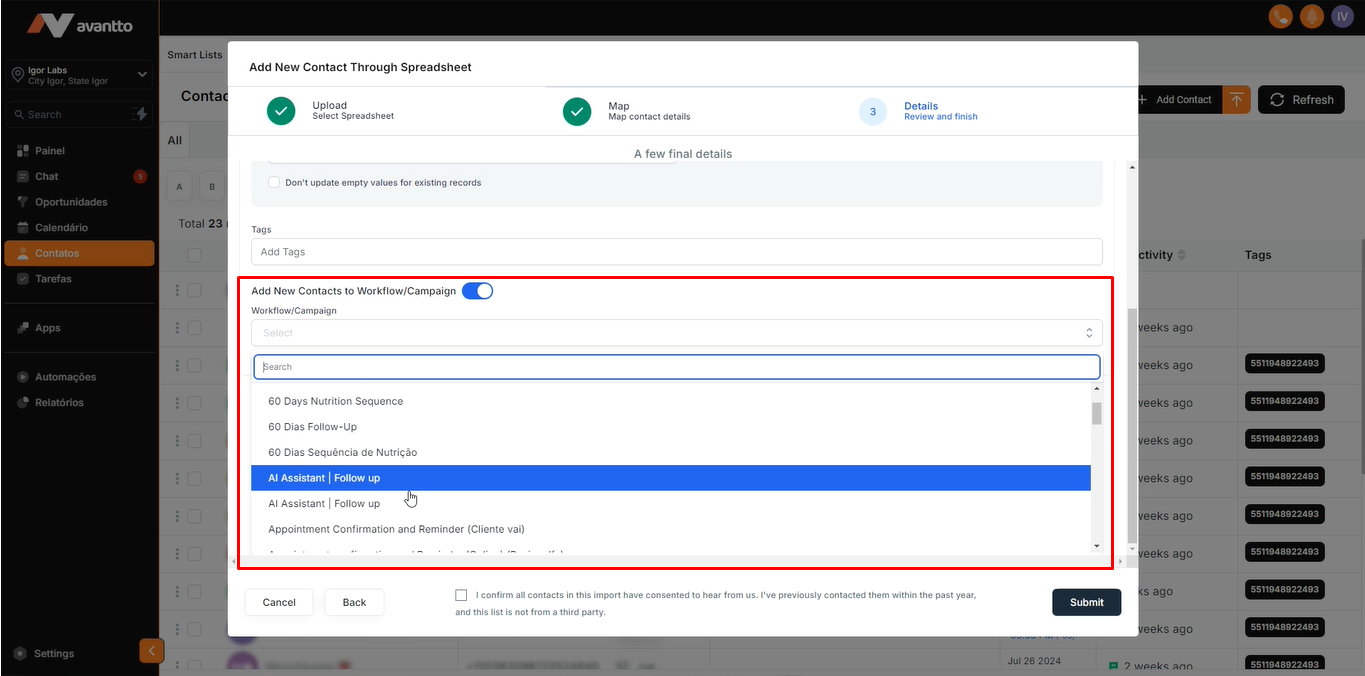
The option "Add New Contact to Workflow/Campaign" allows you to directly add the contacts being imported to an already created and active automation within Avantto. This facilitates the immediate inclusion of new contacts in existing campaigns or workflows.
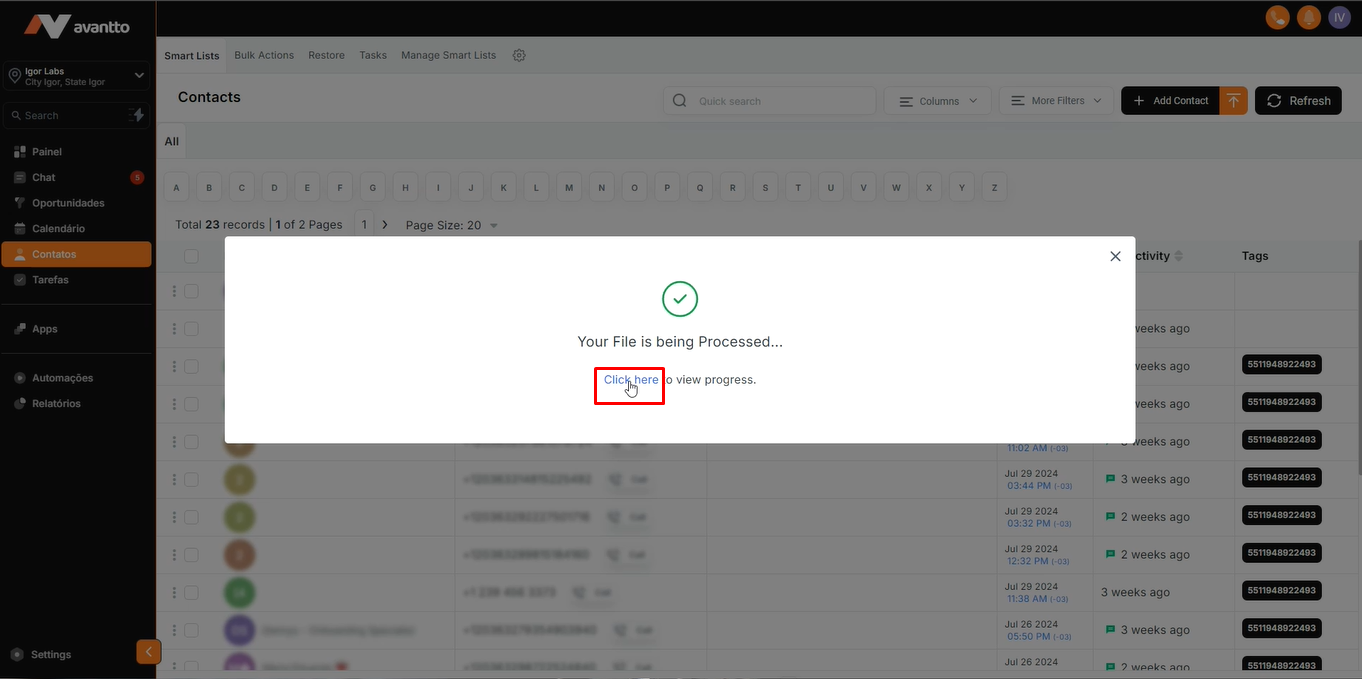
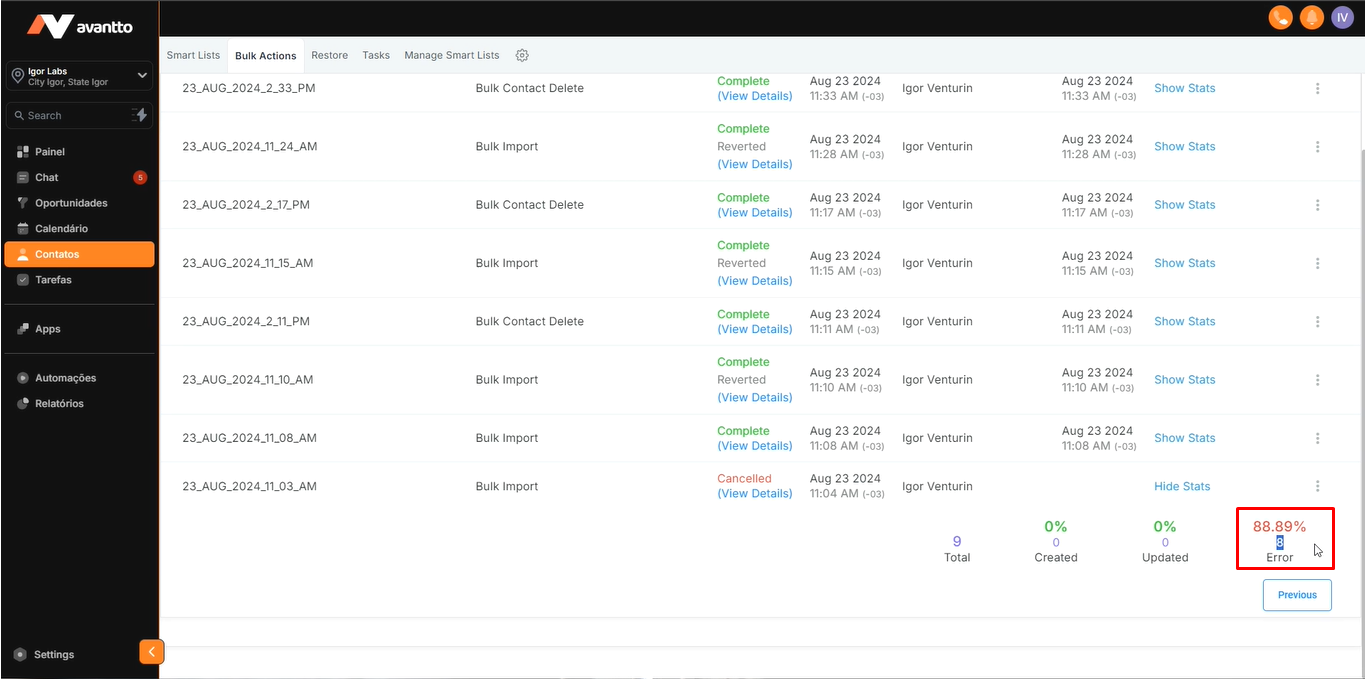
2.1 Upon completing the import, it is recommended to click "Click Here" to check the progress. In this section, you can identify if there was any error and confirm if all contacts were imported correctly.
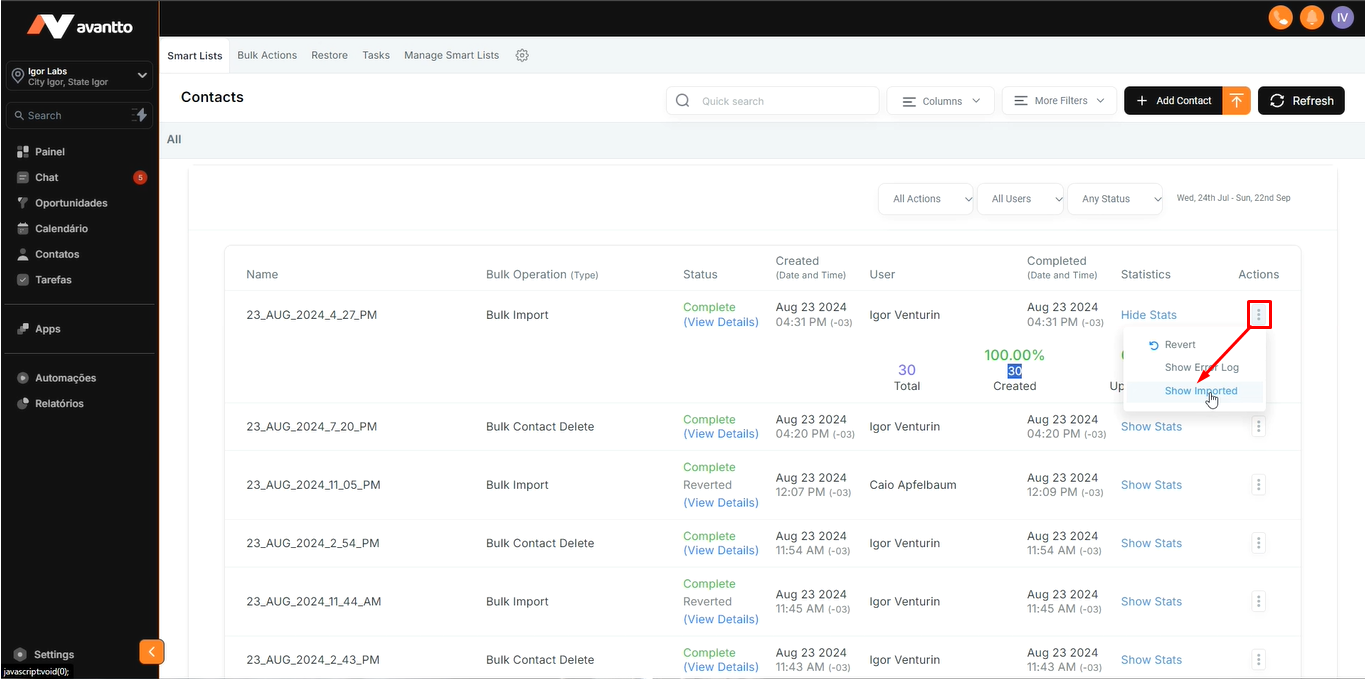
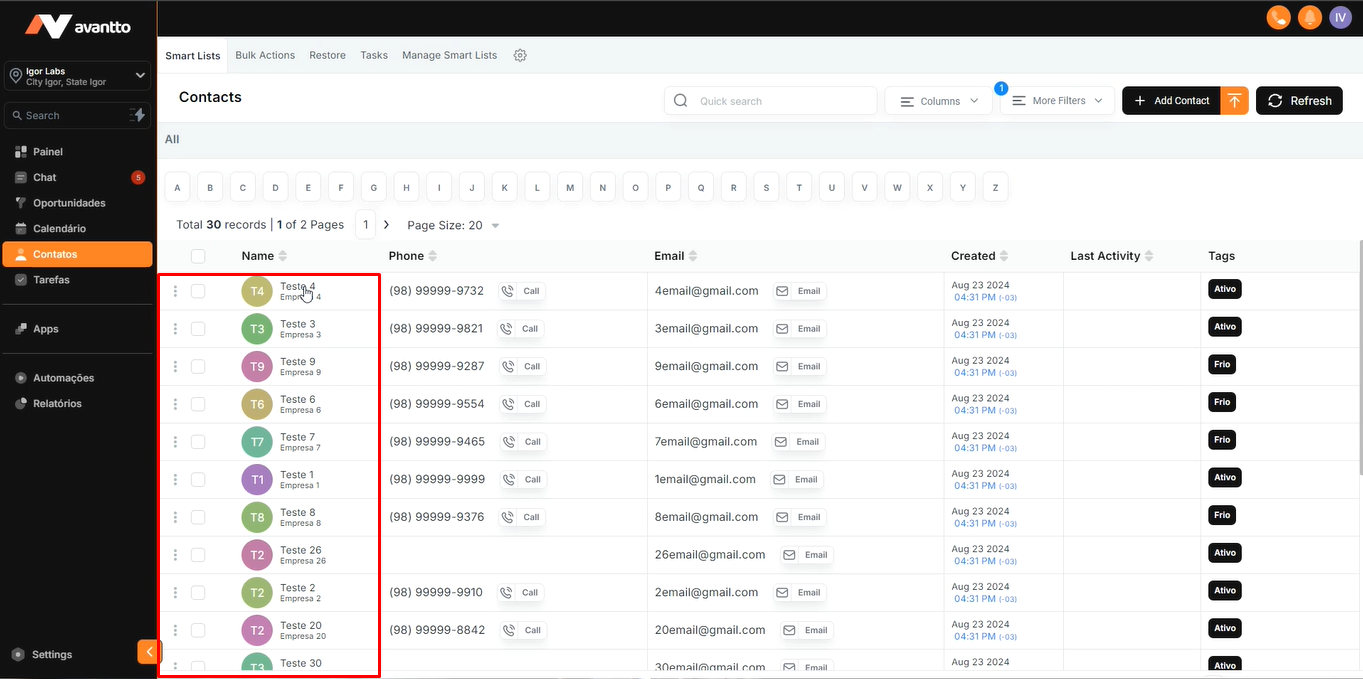
2.2 Click "Show Imported" to view all the contacts that were imported.
In this section, you can filter these contacts as needed, facilitating the management and organization of your list.
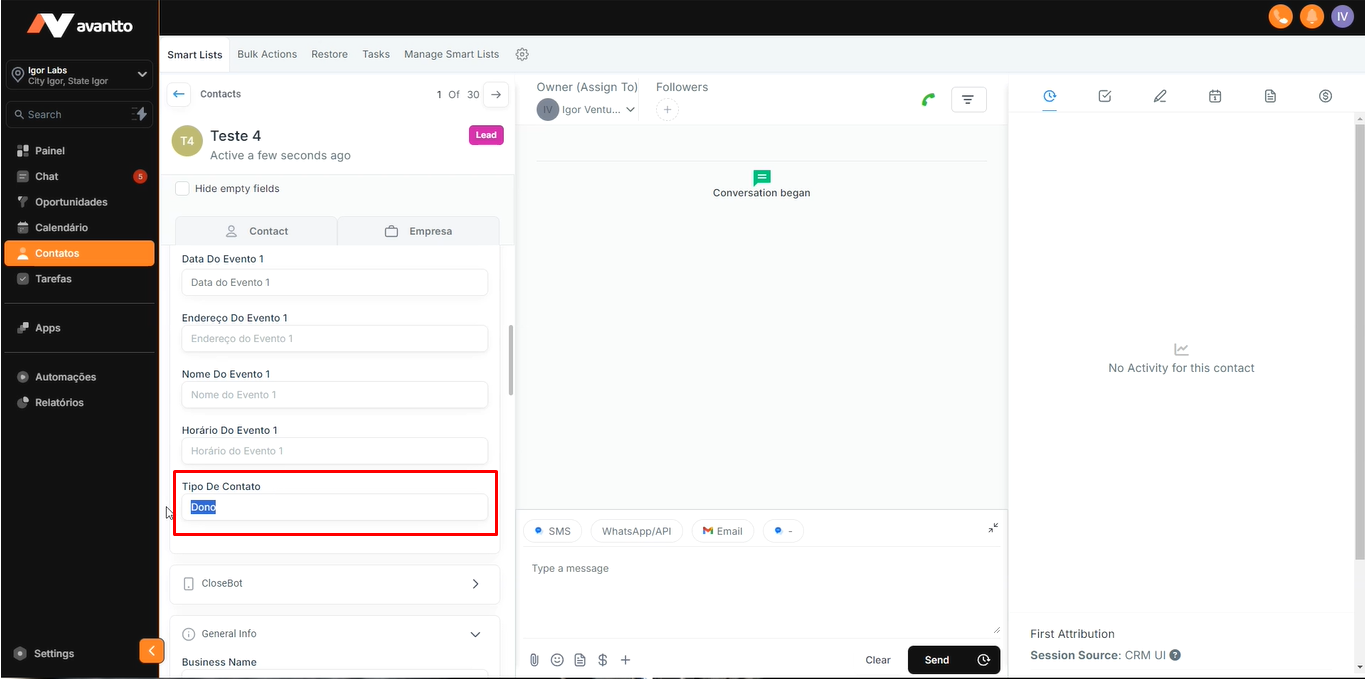
2.3 Click on the desired contact to open its detailed information.
This will allow you to see if the creation and filling of custom fields were done correctly.
2.4 The custom field "Contact Type" will already appear updated if the import was done correctly.
2.5 To view the errors, follow the same procedure as in step 2.2; however, click on "Show Error Log". This will allow you to identify and analyze the issues that occurred during the import of contacts.
2.6 On this page, you will be able to see the line where the error occurred, the error description in the "Message" section, and the "Steps to Resolve," which indicate how to fix the problem.
In the image, you can see that the error was caused by duplicate email contacts.
However, after making the change, the import was successful.

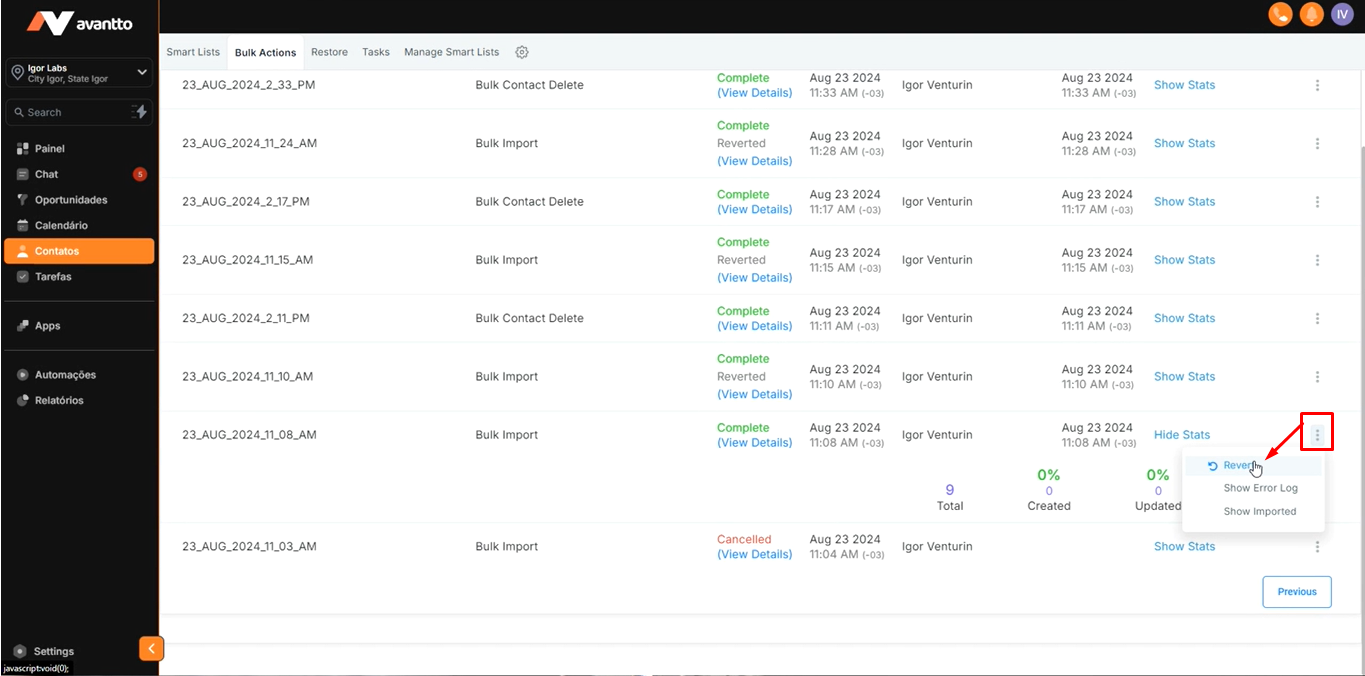
2.7 If you have added many contacts or if the imported list is incorrect, and you want to remove them all at once, just click on "Revert," as shown in the image. This will delete all imported contacts.
After removal, you can set up your spreadsheet again and import the contacts once more.