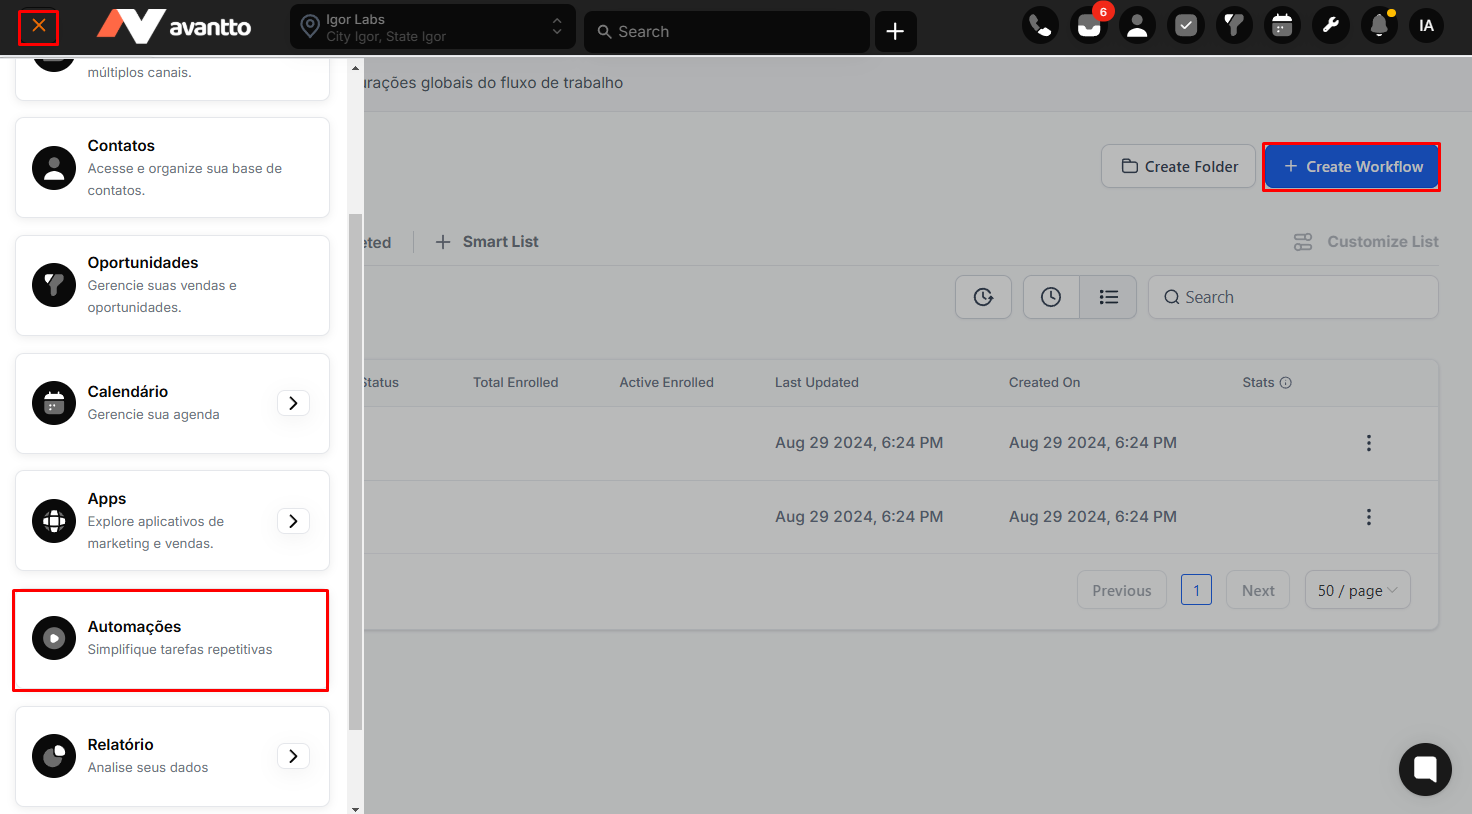
Navigate to Automation>Workflows>Create Workflow
Click on Add New Workflow Trigger. Here, any of the following triggers can be used individually or in combination: Form Submitted, Client Booked Appointment, Survey Sent, or Order Form Submission.

After choosing the workflow trigger(s), you can add a filter to select the form/calendar/order form/survey from which you want to track pixel conversion events.
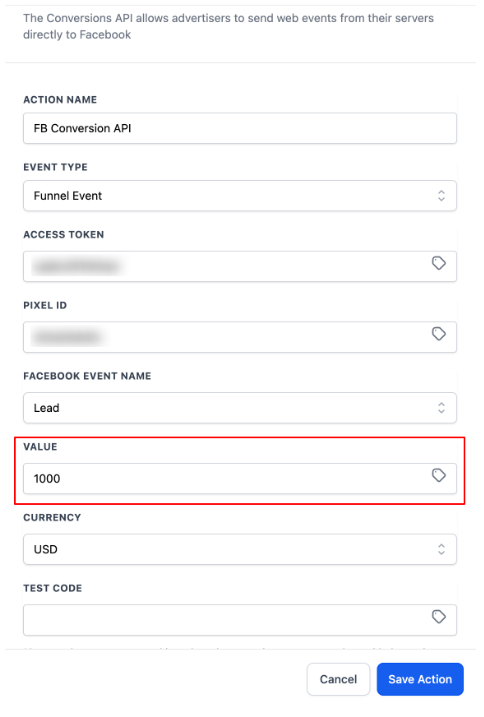
Next, click on Add your first Action. Search for and select the Facebook Conversion API Action. Set up the Facebook Conversion API action. You can name this Action in Action Name if you want. In the Event Type dropdown, select Funnel Event.

For the Access Token, go to your Facebook Events Manager> Data Sources> Settings> Scroll down and click Generate Access Token. Once generated, copy the access token and paste it in the workflow action setup.

For the Pixel ID, go to your Facebook Events Manager> Data Sources> Settings> Scroll down and copy your DataSet ID (this will be the Pixel ID). Paste the Pixel ID in the Pixel ID field of the Facebook Conversion API Action in your Workflow.

Paste the Access Token and the Pixel ID in the corresponding fields of the Facebook Conversion API Action.

After finishing, Save the Action and then Save and Publish the Workflow.
Please note:
For Lead Value, use assumed values like 1000 or 2000 so you can identify the value that each lead contributes to your pipeline.