Private Integrations allow you to create powerful custom integrations between your account and any other third-party application.
If you are looking to integrate your account with a third-party application, you have two options:
1. Find and install the relevant app in the App Marketplace
2. Create your own private integration on your own or with the help of a developer using APIs.
Private Integrations help you achieve option #2 securely.
The main advantages of using Private Integrations are:
Simple: Generate Private Integration tokens in your account settings and manage them with ease.
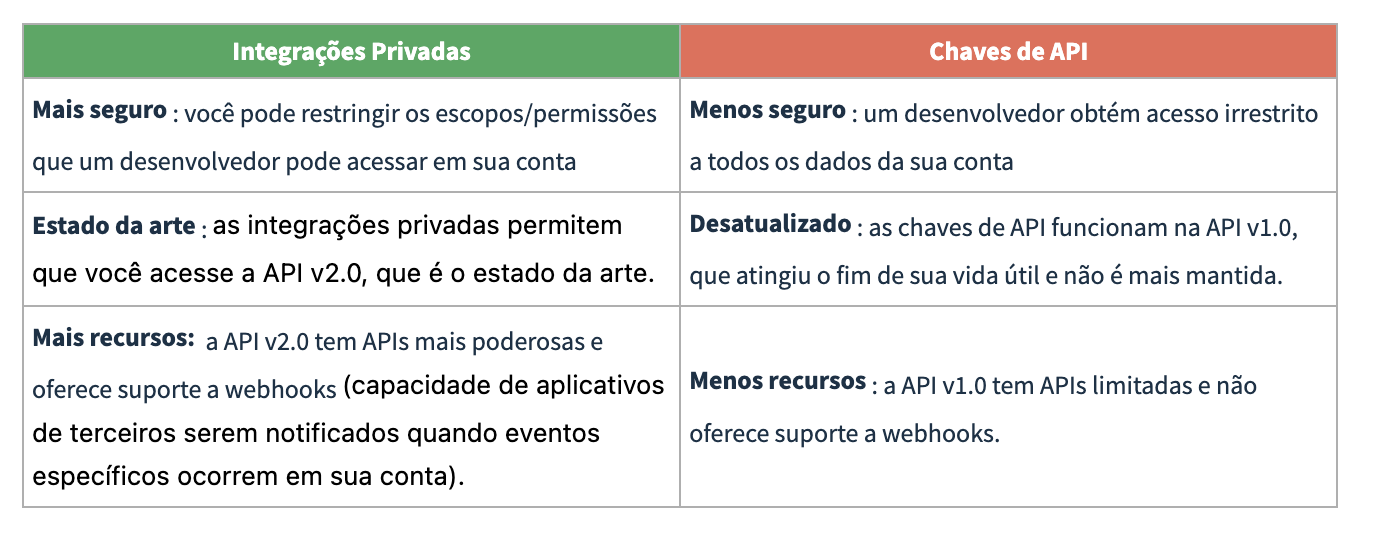
Secure: You can restrict the scopes/permissions that a developer can access in your account
Private Integrations, in short, are a more powerful and secure alternative to API Keys.
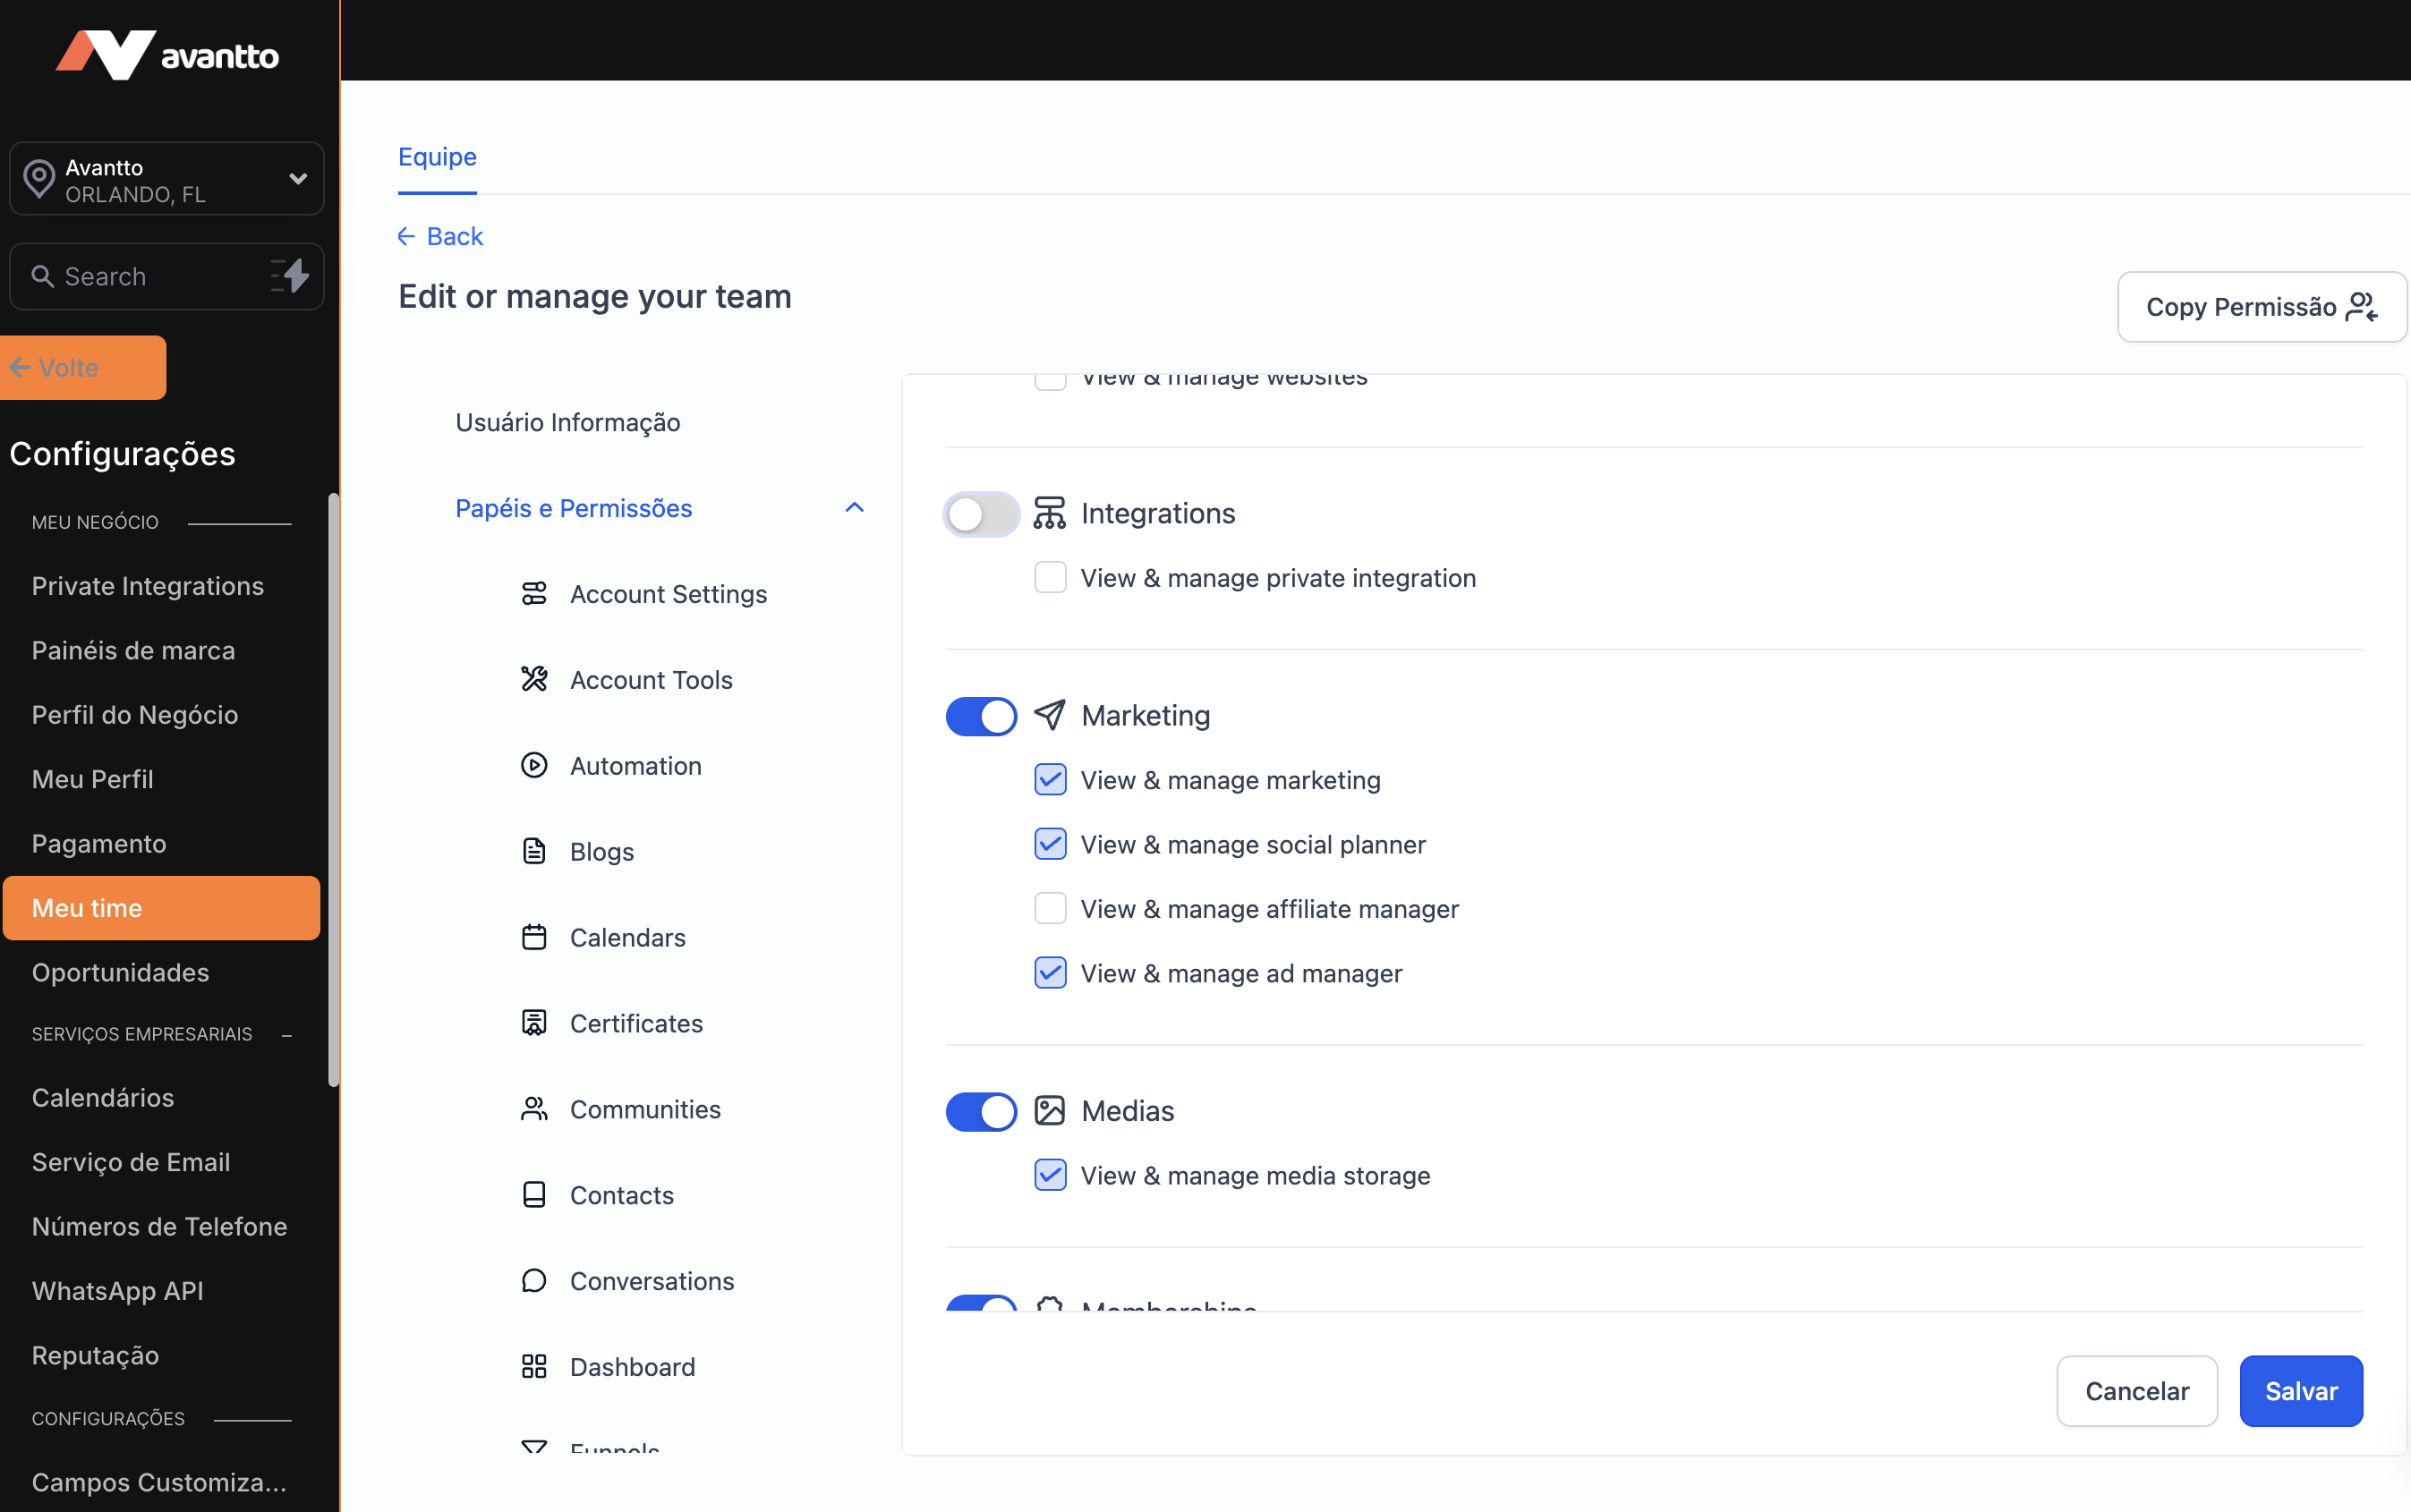
By default, all account administrators can create and manage Private Integrations.
However, you can restrict this permission at the user level. To do this, navigate to Settings > My Team > Edit the specific account user > Roles and Permissions, and enable/disable Private Integrations for the user.
To manage Private Integrations, go to Settings and scroll down to the 'Other Settings' section in the left navigation menu.
If you do not find the setting, make sure you have enabled the feature in Labs.
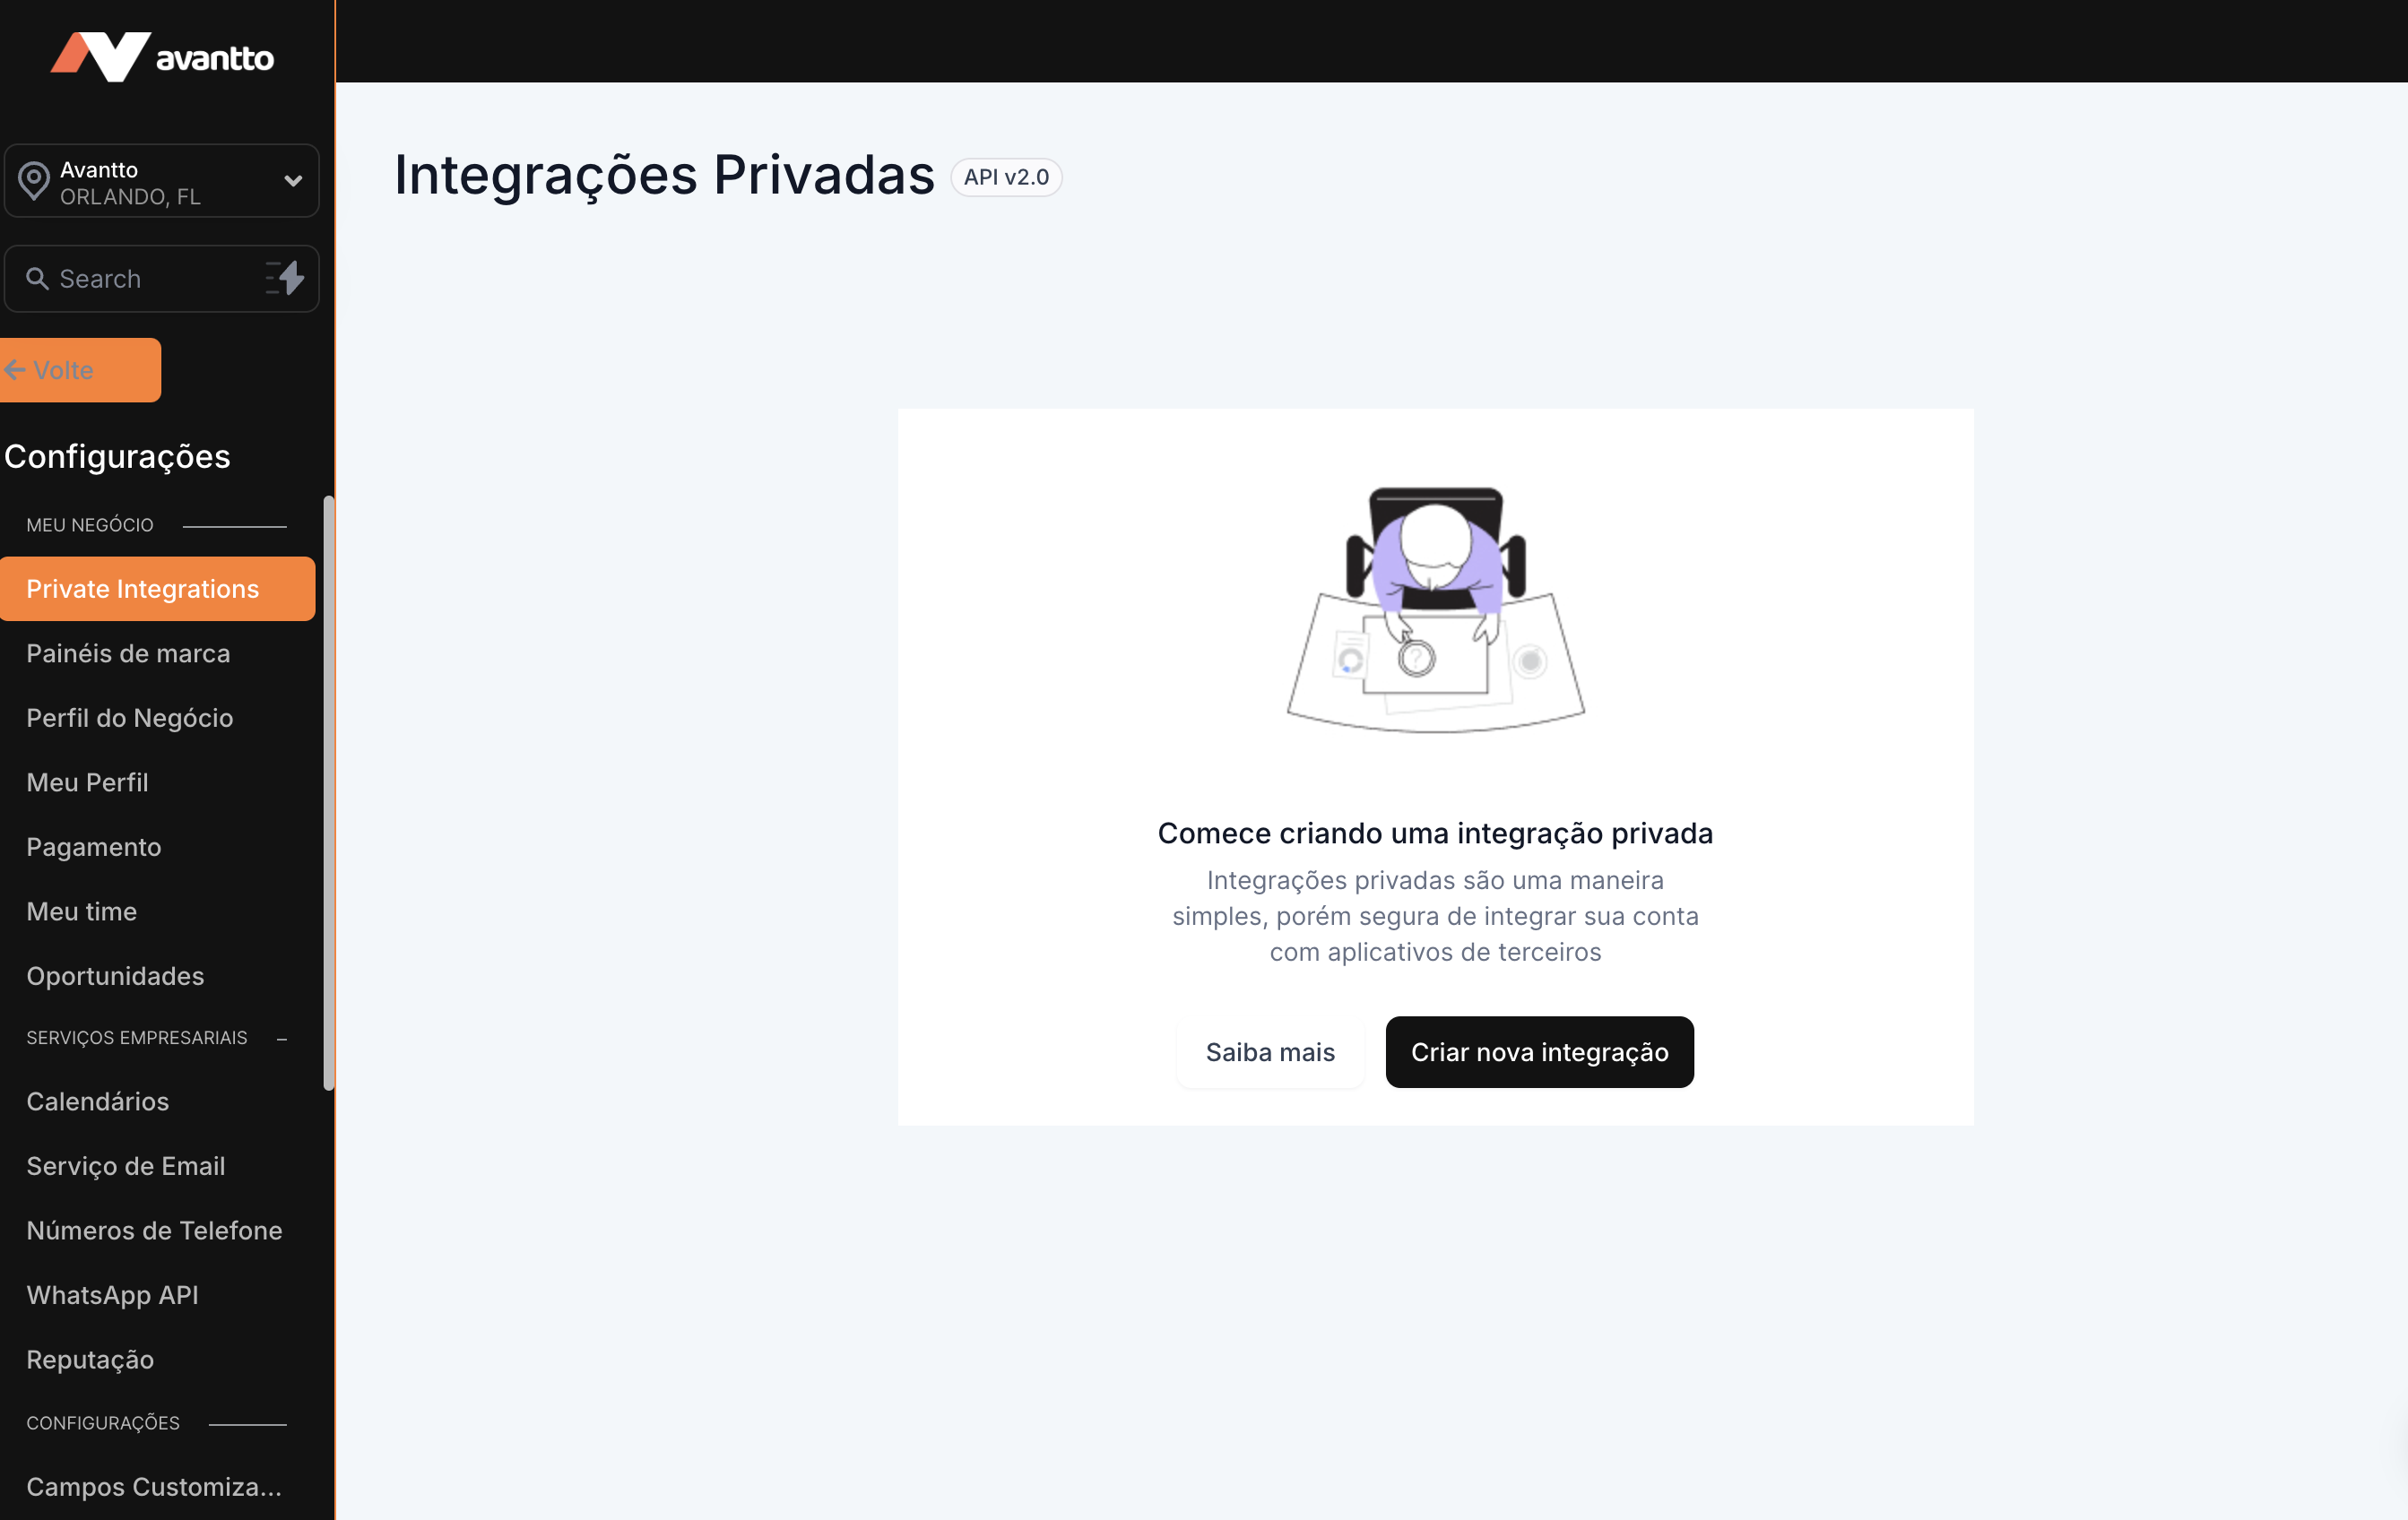
Step 1: Click on "Create new Integration"

Step 2: Give a name and description to your Private Integration to help you and your team identify what it is for.

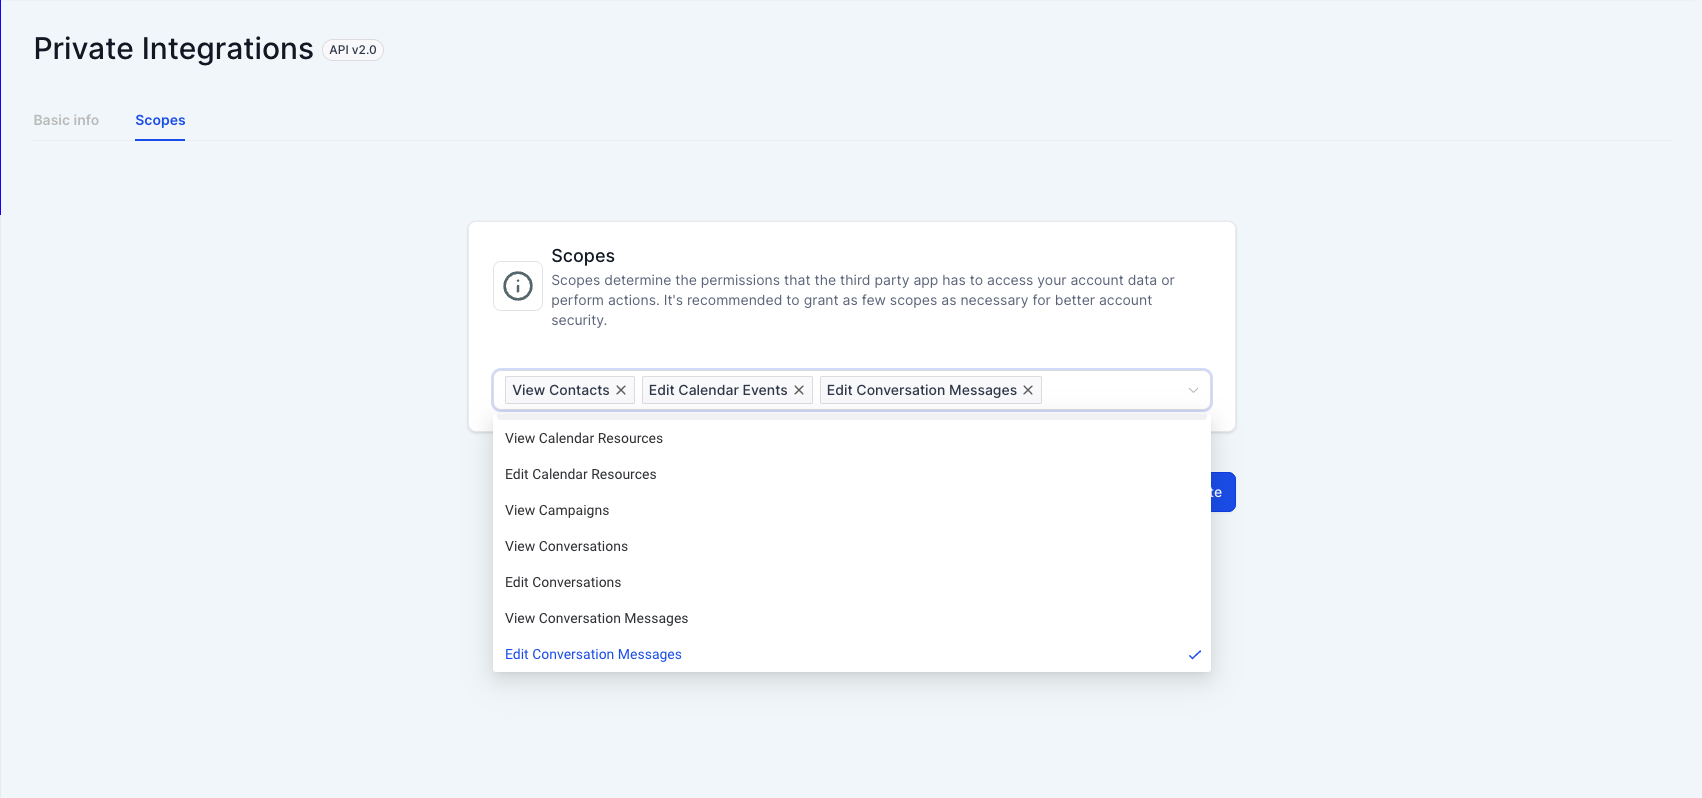
Step 3: Select the scopes/permissions you want the private integration to have access to in your account. Make sure to select only the necessary scopes for better data security.
Step 4: Copy the generated token and share it with your third-party application developer.
Make sure to share the token only with trusted parties. Do not share it publicly.
Note: Do not forget to copy the generated token, as you will not be able to do so again later.

We recommend that you rotate your Private Integration tokens every 90 days.
Here's how you can do it.
Step 1: Navigate to Private Integrations in the settings and click on the Private Integration you created.

Step 2: Click on "Rotate and expire this token later".

Step 3: Click on "Continue" in response to the warning message if you are sure you want to proceed with the rotation.

Step 4: Copy the new token and update it in your third-party application. You will have a 7-day window where both the old and new tokens will continue to work. After 7 days, the old token will expire. During this 7-day window, you will have the option to:
1. "Cancel rotation" if, for example, your developer needs more time to update the token in the third-party application.
2. "Expire now", if, for example, the third-party application has been updated with the new token.
Note: Don't forget to copy the generated token, as you won't be able to do it again later.

Step 1: Navigate to Private Integrations in the settings and click on the Private Integration you created.
Step 2: Click on "Rotate and expire this token now".

Step 3: Click on "Continue" in response to the warning message if you are sure you want to proceed with the rotation.

Step 4: Copy the new token and update it in your third-party application.
Note: Don't forget to copy the generated token, as you won't be able to do it again later.

Yes, you can edit the name, description, and scopes/permissions of the Private Integration at any time after creating it.
Here's how you can do it.
Step 1: Navigate to Private Integrations in the settings and select "Edit" from the three-dot menu.

Step 2: Update the name and description of the Private Integration, if necessary. Click "Next."

Step 3: If necessary, update the scopes/permissions you want the private integration to have access to in your account. Make sure to select only the necessary scopes for better data security. Click "Update" to save the changes made.

Note: Updating the Private Integration details does not generate a new token. The existing token will continue to work.
You can delete the Private Integration when you are no longer using the third-party application.
To do this, navigate to Private Integrations in the settings and select "Delete" from the three-dot menu.